
Hexo + GitHub Pages | 有手就行的博客搭建指南
前言
在开始搭建博客之前,希望你对 Git 的基本操作有一定了解,并确保你的计算机上已经安装了以下软件:
可通过以下命令检查是否安装:
node -v
npm -v
git --version
创建 Github 仓库
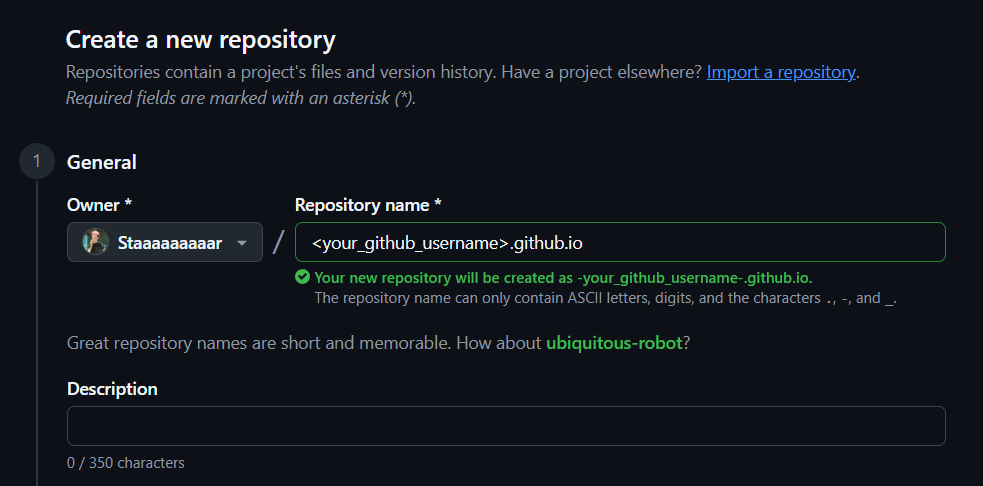
在 GitHub 上新建一个仓库,需要特别注意的是仓库名需要为 <your_github_username>.github.io 。
搭建 Hexo 博客框架
初始化 Hexo 项目
- 将新建的仓库 clone 到本地(HTTPS 或 SSH 均可):
git clone https://github.com/<your_github_username>/<your_github_username>.github.io.git
git clone git@github.com:<your_github_username>/<your_github_username>.github.io.git- 安装 Hexo:
npm install -g hexo-cli- 初始化 Hexo:
hexo init <folder>由于 init 指令建站需要目标是空文件夹,所以我们可以任意指定一个文件夹,然后将其内容移动到仓库目录下。
- 进入仓库目录:
cd <your_github_username>.github.io正常情况下,项目文件夹结构应如下所示:
.
├── _config.yml
├── package.json
├── scaffolds
├── source
|   ├── _drafts
|   └── _posts
└── themes
配置主题
选择一个心仪 Hexo 主题,这里以 Fluid 为例。
- 将主题仓库添加为子模块:
git submodule add https://github.com/fluid-dev/hexo-theme-fluid themes/fluid- 初始化并更新子模块:
git submodule init
git submodule update
注
此处的 <repo-url> 必须为 HTTPS 地址。若在拉取过程中遇到连接问题,可在运行 git submodule init 后先将 .gitmodules 文件 commit 到本地仓库保存,然后手动更改 .gitmodules 中的 URL 为 SSH 形式。接着运行以下命令更新子模块:
git submodule sync
git submodule update- 修改仓库目录下的
_config.yml
theme: fluid- 在仓库目录下创建
_config.fluid.yml,将主题的_config.yml内容复制过去,原因参见 Fluid 用户手册。
本地部署
安装依赖并启动服务器:
npm install
hexo server
打开浏览器访问 http://localhost:4000 即可预览博客。
通过 GitHub Pages 部署
修改配置
修改仓库目录下的 _config.yml 中的 url ,将其更改为仓库地址:
url: https://<your_github_username>.github.io添加工作流文件
通常,将 Hexo 生成的页面通过 GitHub Pages 挂载后,每次提交博客都需要使用 hexo clean && hexo generate && hexo deploy 命令来部署,比较繁琐。本文将介绍一种借助 GitHub Actions 来实现自动部署的方案,每当我们提交源代码到 GitHub 存放源码的分支上,便会启动工作流,自动将构建并将静态文件 push 到发布分支,实现部署。
在仓库目录下创建 .github/workflows/deploy.yml 文件,内容如下:
name: Hexo Deploy

on:
  push:
    branches: [main]

permissions:
  contents: write # 允许工作流写入仓库内容

jobs:
  build_and_deploy:
    runs-on: ubuntu-latest

    steps:
      - name: Checkout # 检出代码
        uses: actions/checkout@v4

      - name: Update Submodule # 更新子模块
        run: |
          git submodule init
          git submodule update --remote

      - name: Setup Node.js # 设置Node.js环境
        uses: actions/setup-node@v4
        with:
          node-version: "22" # 指定Node.js版本(与本地一致)
          cache: "npm" # 启用 npm 缓存,减少重复下载

      - name: Install # 安装依赖
        run: |
          npm config set registry https://registry.npmmirror.com/
          npm cache clean --force
          npm install -g hexo-cli --registry=https://registry.npmmirror.com/
          npm install --registry=https://registry.npmmirror.com/

      - name: Build # 生成静态文件
        run: |
          hexo clean
          hexo generate

      - name: Deploy # 发布到gh-pages分支
        uses: peaceiris/actions-gh-pages@v3
        with:
          github_token: ${{ secrets.GITHUB_TOKEN }}
          publish_dir: ./public
          publish_branch: gh-pages
启用 GitHub Pages
- 保存并提交所有更改到
main分支:
git add .
git commit -m "chore: initial commit"
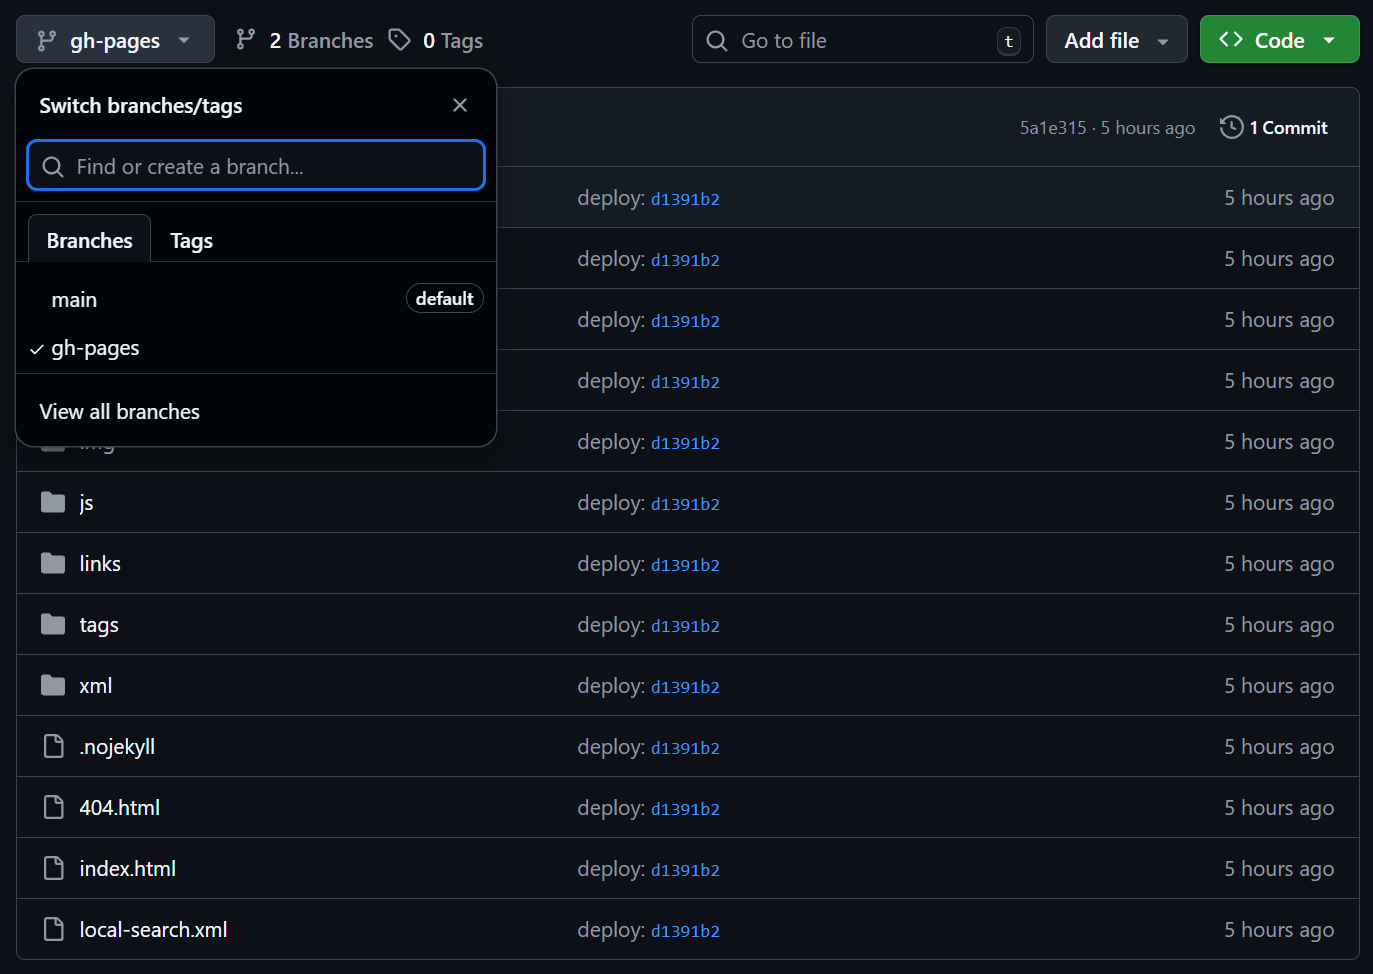
git push origin main若进展顺利,GitHub Actions 会自动运行工作流,并将生成的静态文件推送到远程仓库的 gh-pages 分支。
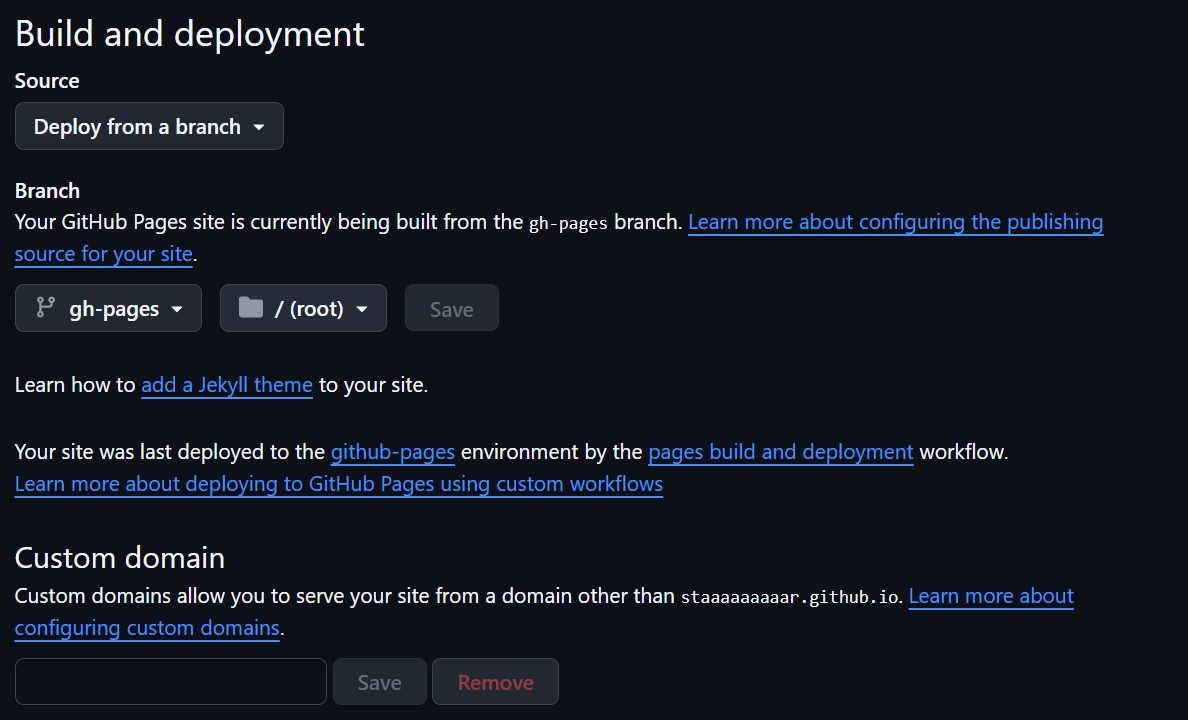
- 在 GitHub 仓库页面,进入
Settings->Pages,在Source选项中选择Deploy from a branch,选择gh-pages分支/(root),点击Save保存。
- 访问
https://<your_github_username>.github.io即可看到你的博客上线了!
本地开发
在本地进行开发时,可以通过以下命令来创建一篇新文章或者新的页面:
hexo new [layout] <title>同时开启本地服务器进行预览:
hexo server编辑完成后,使用以下命令提交到源代码仓库:
git add .
git commit -m "<your commit message>"
git push origin main